Have you ever wondered why some quilts just look more professional than others? The answer might be simpler than you think: it's all about ironing! Yes, you read that right. Ironing isn't just for shirts and blouses; it's a game-changer in quilting too. Let's discover the art of perfect ironing together, so your quilt projects will also look like they came straight from an exhibition!
1. Choose the Right Temperature – No Steam, No Drama
The right temperature and avoiding steam can work wonders. Cotton fabrics need it hot, give it everything your iron has. I've found that dry ironing makes seams wonderfully flat without stretching the fabric. Does dry ironing sound too simple to be true? Try it and marvel at the crisp edges!
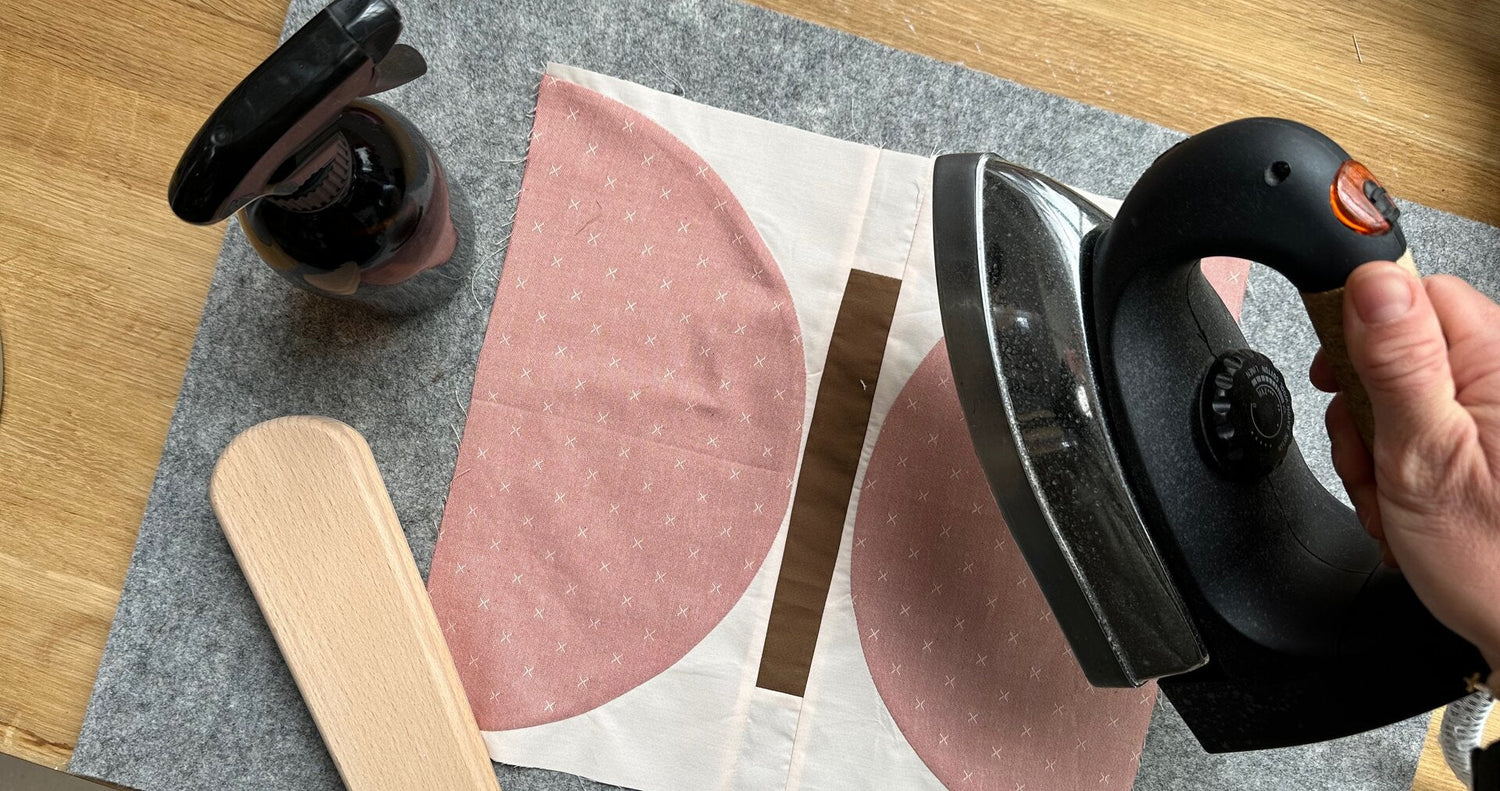
Exception: If your block is a bit stubborn, give it a shot of steam or a spritz from a spray bottle and pull it back into shape. Voila!
2. An Ironing Board That's More Than Just a Board
A good ironing board is like a loyal friend – it won't let you down. With a decent size and a padded surface, every ironing session becomes a breeze. And if you're in the mood for a little "spa feeling," why not try a wool mat? It not only retains heat better, but it also smells wonderfully natural – as long as you like the smell of wet sheep!
3. Press, Don't Rub – Your Seams Will Thank You
Forget how your grandma ironed shirts. In quilting, pressing is the new ironing. Why? Because it respects your seams instead of tugging at them. Gently press on the seam and lift the iron straight back up – this preserves the integrity of your fabrics (diagonal cut edges, I'm looking at you!) and your sanity.
4. Step by Step to the Big Picture
Press your seams immediately after sewing and before the next step. It's like a sliding puzzle – one piece at a time! The larger your seam landscape becomes on the back, the harder it will be to access individual seams. That can drive you crazy. But it won't happen to you, because you'll do it right the first time, and your quilt will thank you with a uniform appearance.
5. Backside Heroes
When you press your seams from the back, everything stays where it belongs. It's almost like working backstage in a theater – invisible, but crucial for the result.
6. Set Seams, Sitting Down
Before you get out the iron, use your finger or a seam roller right at the sewing machine. Your stand-up-sit-down-stand-up workout will unfortunately be canceled, but it saves time and your seams already roughly know what to do before they even enter the ironing board stage.
7. Extra Trick for Extra Stars
The seams also want to settle. The best way to do this is to press the seam once without opening it, just as it was sewn. The seams then sink into the fabric like a warm knife through butter. A magic trick for that last bit of precision.
8. Action!
Now it's your turn! Grab your iron and one of your quilt blocks and test these tips. You'll see how your seams suddenly cooperate – flat, precise, and ready for any quilt show.
And if you're looking for more tips and tricks for your quilt projects, check back here regularly. Together, we'll turn every quilt into a masterpiece!